
 Free Headphone Mixing Blueprint
Mix With Confidence, Even on Headphones
The proven system thousands of producers and engineers use to create release-ready mixes from anywhere. No expensive monitors. No treated room. Just a workflow that translates.
The Headphone Mixing Blueprint
A clear, repeatable workflow for mix translation and confidence, even without studio monitors.
Can you actually mix on headphones?
Absolutely. When you pair proper calibration with disciplined referencing. Headphones remove room issues but exaggerate left/right separation, so your goal is to learn how that translates to real-world playback. Once you do, it's a superpower.
Headphone calibration (Oratory1990 + FabFilter)
Headphone calibration evens out frequency imbalances so your mixes translate accurately, no matter what headphones you use. This flattens the peaks and dips unique to each model, giving you a neutral, trustworthy monitoring curve.
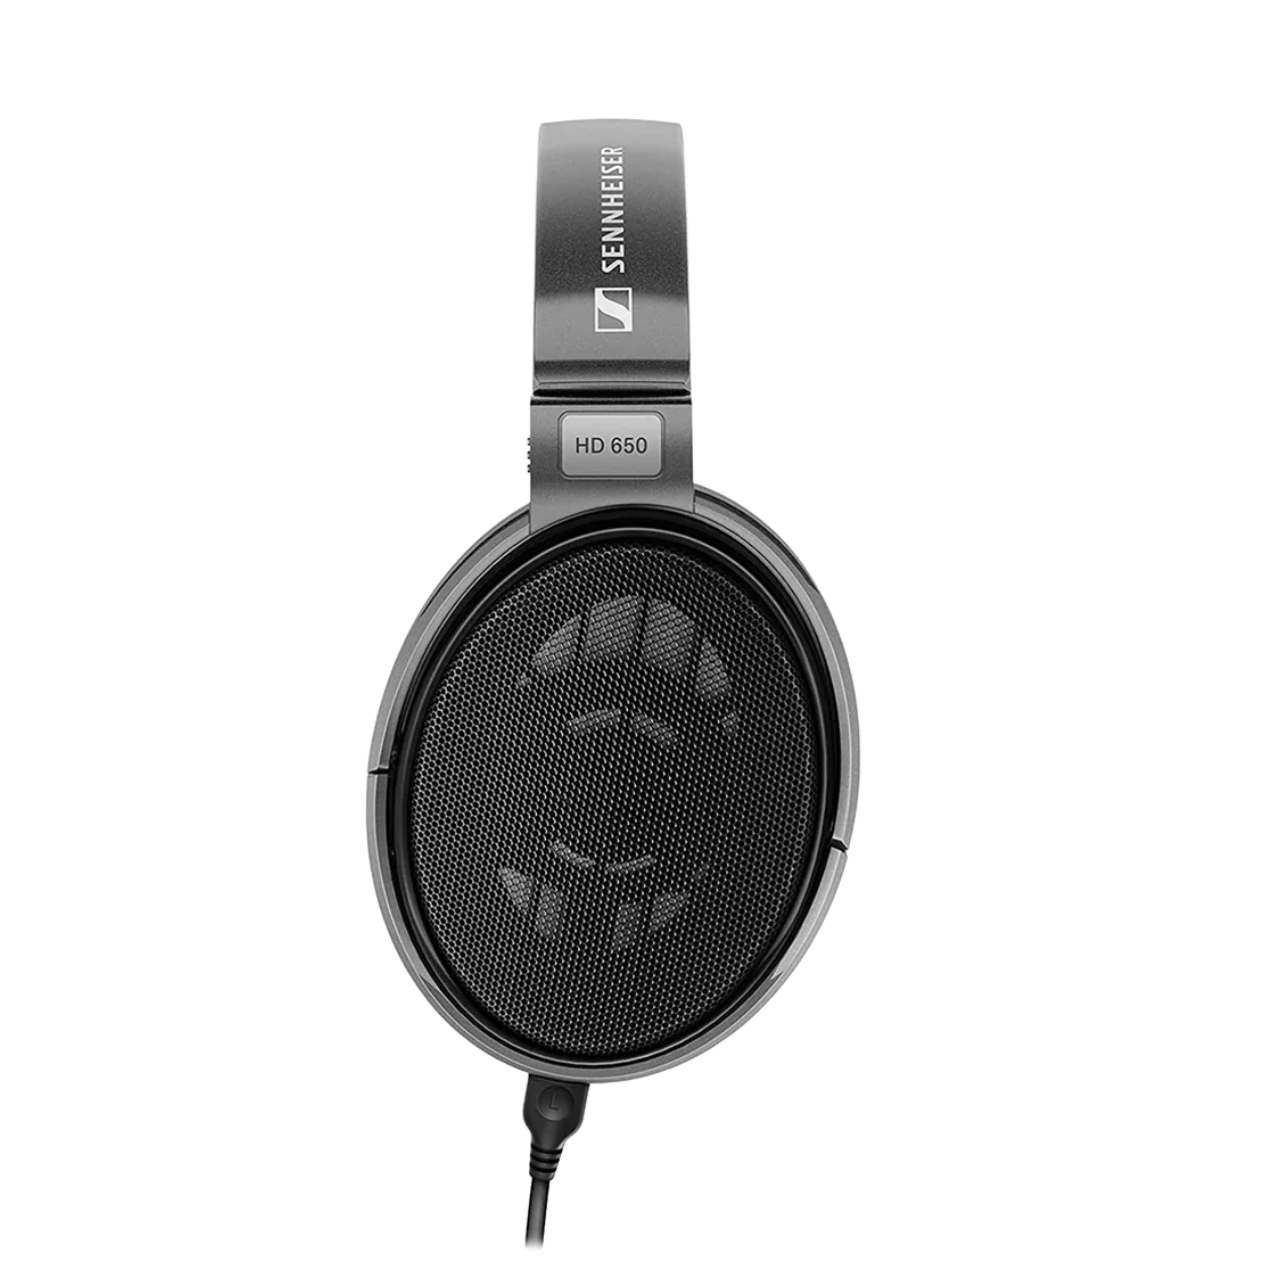
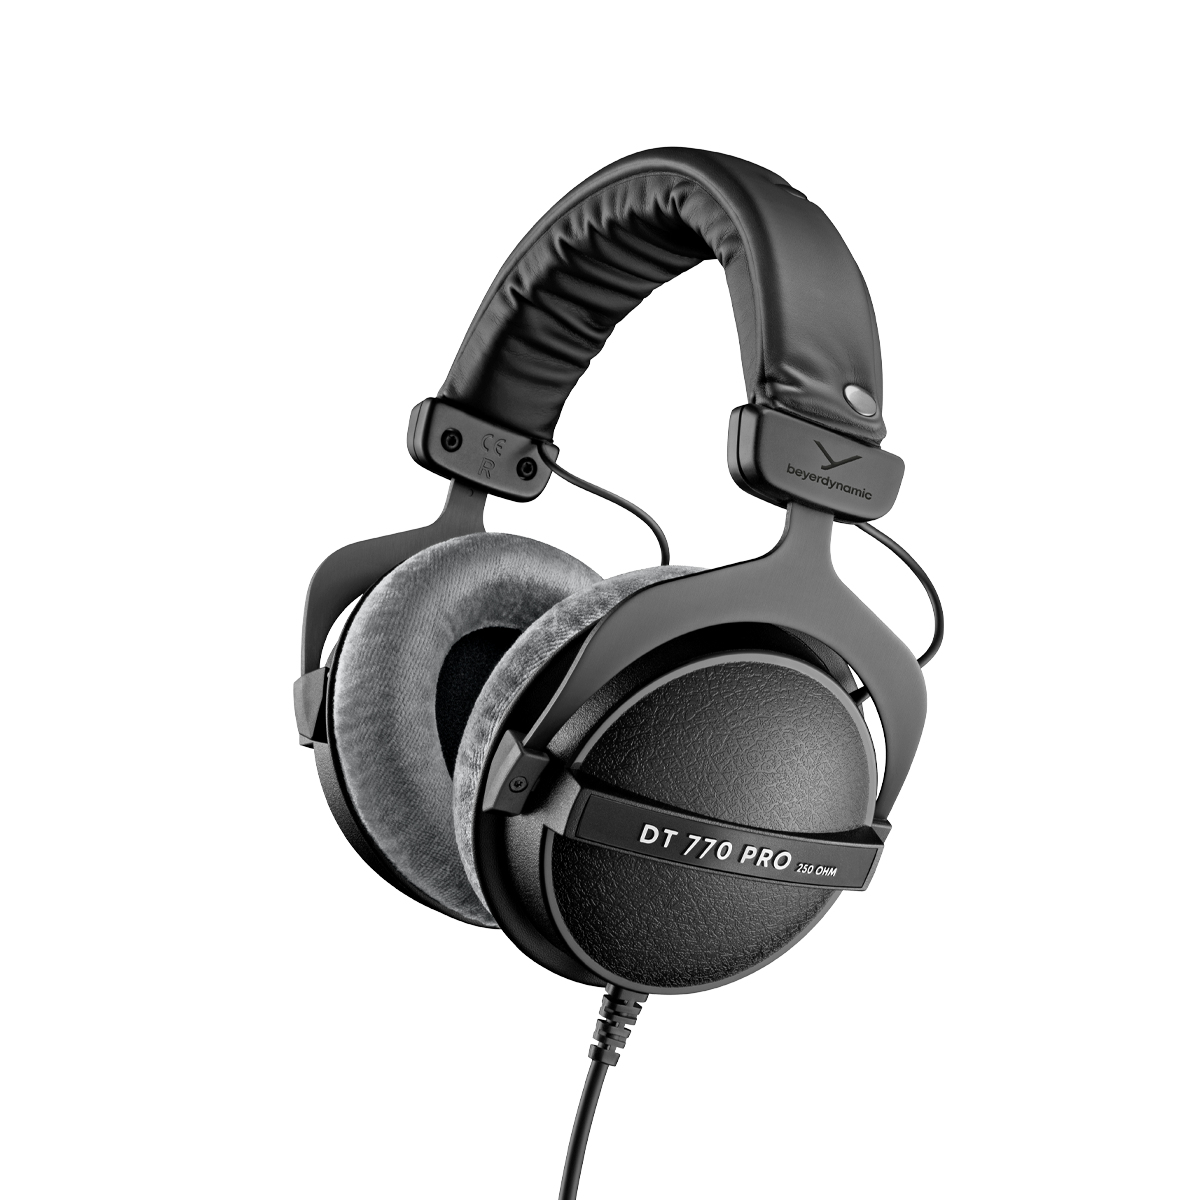
- Find your model: Oratory1990 Preset List. Works for hundreds of popular headphones (Sennheiser, Beyerdynamic, Audio-Technica, Sony, and more).
- Convert for FabFilter Pro-Q: EQ Conversion Sheet. Most EQ plugins load Oratory values directly; for Pro-Q, use this sheet to match the exact frequency, Q, and gain.
- Insert in your chain: place your calibration EQ after your mix bus limiter but before your meters, or apply it only on your headphone output for cleaner routing (shown below).
- Level-match: toggle bypass and match levels before evaluating. Louder isn't better, just different.

Frequency Focused Referencing™ (FFR)
Frequency Focused Referencing™ (FFR) takes traditional A/B referencing to the next level. Instead of comparing entire mixes, you isolate frequency zones with precision, revealing what's really happening in your mix compared to a mastered release.
1. Choose smart references
Pick 1-3 songs that match your mix's energy, vocal range, and instrumentation. If your track features a male vocal in G, choose a reference with a similar range, not a deep, sub-heavy track in D♭. The closer the match, the more accurate your referencing.
2. Loudness alignment
Before comparing, level-match your mix to the mastered reference. Louder always sounds "better," so bring your mix up to a fair comparison point, without crushing its dynamics.
- Console saturation: subtle harmonic glue (Slate VMR, Waves NLS, Avid HEAT, etc.). Fun fact: HEAT was designed by Dave Hill, founder of Crane Song and one of the most respected analog circuit designers in the world.
- Parallel compression: blend 10-30% of a heavily compressed return for punch and cohesion.
- Soft clipping: 1-2 dB of gentle clip before your limiter, for density without distortion.
- Limiter: keep it transparent. Tickle, don't slam. We're going for reference feel, not volume wars.
This gets your mix in the "mastering ballpark" so the tonal comparison is apples-to-apples.
3. Zoom in by frequency
Load FabFilter Pro-Q (or any EQ with steep slopes) after your limiter. Use high-pass and low-pass filters at 48 dB/octave or higher to isolate zones, then A/B between your mix and the reference.
| Zone | Focus | Listen for |
|---|---|---|
| 30-70 Hz | Kick / sub-bass | Weight, tightness, sub clarity |
| 100-250 Hz | Bass body | Warmth vs. mud |
| 400-800 Hz | Low mids | Presence without boxiness |
| 2-5 kHz | Presence range | Vocal bite, snare snap |
| 8-12 kHz | Air / brilliance | Open shimmer vs. harshness |
Work one range at a time. Once your low end, mids, and top end feel balanced like the reference, remove the filters and re-listen full-range. You'll instantly hear how your mix translates across systems.
4. Translate & trust
After balancing each range, test your mix on multiple systems: headphones, car, laptop, monitors. The goal is translation, not imitation. When it feels balanced and emotionally consistent everywhere, you've done your job.
Watch the System in Action
A quick walkthrough of calibration and Frequency Focused Referencing™ in a real mix.
Blueprint Labs: Lock It In
Three quick missions to make translation second nature.

Build your reference arsenal
Pick 5-10 great masters across your genres. Loudness-match them and keep them ready in every session.
- 2 modern pop/rock
- 2 intimate vocal
- 1 bass-forward
- 1 big space
Diagnose with FFR™
Loop 8-12s, level-match, compare by frequency zone, make a single decisive move, re-check.
- Low → kick/bass glue
- Low-mid → mud/box
- High-mid → presence/edge
- Air → sheen vs sharp
Ship & review
Bounce a pass, listen on 2-3 real-world systems, note the deltas, and iterate once.
Take It Offline
Prefer a printable version, or want the guide beside your DAW? Grab the PDF and my FabFilter midrange presets.
Spend your time mixing, not setting up.
Control Room members also get MIXPrep, the pre-mix tool that handles the busywork the moment you drop your tracks in. Everything you just practiced, from choosing references to gain-staging to session prep, MIXPrep sets up for you, so all your energy goes into the mix.
Reference-ready instantly
MIXRef suggests pro references that match your song's energy and range, so your FFR comparison starts with the right targets, not a blank slate.
Gain-staged before fader one
SMART Gain sets category-aware levels across every track, so you start from a balanced mix instead of a wall of clipping.
Know the mix before you mix it
MixBrief reads the session and surfaces your priorities and watch-items. MixPrint fingerprints the balance of any record you want to chase.
Your tools and training, together in one place.
